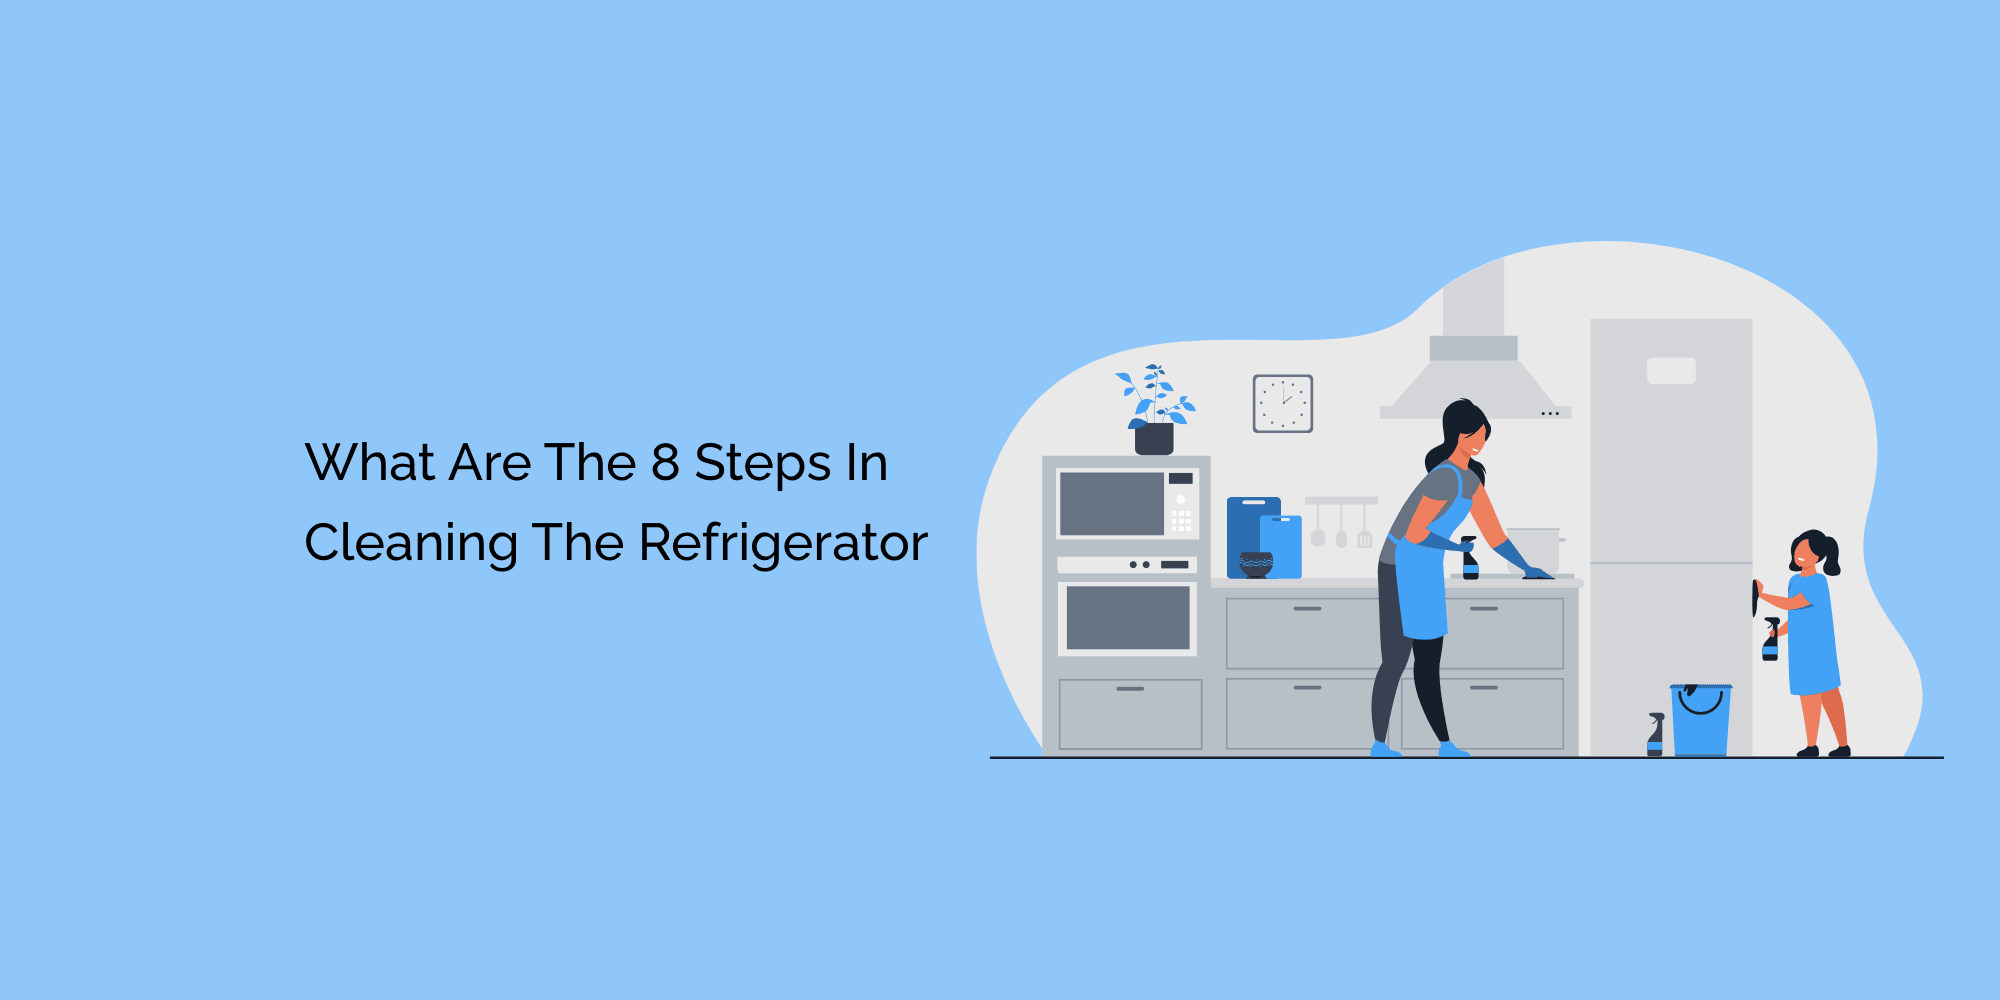
The refrigerator is one of the most frequently used appliances in any home. It helps in keeping our food fresh and safe to consume. However, with daily use, it can get dirty, and cleaning it may seem like a daunting task. But keeping your freezer clean is essential for maintaining its efficiency and extending its lifespan. In this blog post, we will take you through the eight simple steps that you need to follow to clean your refrigerator thoroughly. From preparing to clean to maintenance tips for future cleanliness, we have got you covered. Cleaning your freezer regularly not only prevents food contamination but also helps reduce energy consumption. So, let's get started!
Importance of Cleaning Freezers
Cleaning your freezer regularly is just as essential as cleaning your refrigerator. Neglecting to do so could lead to food contamination and a reduction in energy efficiency. Preventing food contamination is crucial, especially when storing raw meat and dairy products that are prone to bacteria growth. Additionally, a dirty freezer can strain the compressor and increase energy consumption, resulting in higher utility bills. By following the steps outlined in this post, you can ensure your freezer stays clean, efficient, and safe for storing all of your frozen foods.
Properly cleaning your freezer is essential to maintaining food safety and hygiene. This is because regular cleaning helps prevent the growth of harmful bacteria, which can cause illness. But that's not all; cleaning your freezer regularly also has other benefits. For instance, it can help your freezer operate more efficiently, saving you money on energy bills. Additionally, it can prevent unpleasant odors from developing and extend the lifespan of your freezer by preventing breakdowns. To ensure a thorough clean, always remove all food items before starting the cleaning process and use non-toxic, environmentally friendly cleaners to avoid damaging the freezer or contaminating food.
Preventing Food Contamination
Maintaining a clean and hygienic freezer is essential to prevent food contamination and spoilage. It's recommended to clean your freezer at least twice a year or even more often if you notice any spills or stains. Before cleaning, unplug the freezer and remove all the food items. Next, remove any drawers and shelves and wash them with warm soapy water. Use vinegar mixed with water to clean the interior of the freezer and wipe it down with a clean cloth. Don't forget to clean the door seals and gaskets, as they can harbor bacteria and germs. Lastly, allow the freezer to dry completely before plugging it back in and restocking it with food.
Reducing Energy Consumption
Maintaining an energy-efficient freezer is not only good for the environment but also for your pocketbook. A dirty and poorly maintained freezer requires more energy to keep its contents frozen, resulting in higher energy bills. By regularly cleaning your freezer, you can reduce energy consumption and help save money on utility bills. Additionally, a clean freezer extends the lifespan of the appliance and prevents breakdowns caused by ice buildup or other debris. To achieve optimal efficiency, make sure to defrost the freezer regularly and dispose of any expired or spoiled food items to prevent odor buildup.
Step 1 - Preparing to Clean
Before starting the cleaning process, it's essential to prepare and gather all the necessary supplies. This will save you time and ensure you have everything you need to clean your freezer thoroughly. Start by turning off and unplugging the refrigerator, then emptying it completely and discarding any expired or spoiled items. Remove shelves and drawers for easier cleaning, and prepare a mild soap and warm water solution for wiping down the interior. By gathering your cleaning supplies beforehand, you can streamline the process and make sure all areas are cleaned effectively.
Gathering Cleaning Supplies
Before beginning the cleaning process, gathering all the necessary cleaning supplies is crucial. Having everything you need in one place will save you time and allow you to clean your freezer efficiently. Make sure to have a bucket, microfiber cloths, gloves, and a cleaning solution on hand. Natural cleaning solutions such as vinegar and baking soda are effective and safe for food storage areas. It's important to unplug the refrigerator before starting the cleaning process and remove all food items from the fridge to make cleaning easier and prevent cross-contamination. Don't forget to have a cooler nearby to store perishable items while cleaning.
Emptying the Freezer
Maintaining a clean freezer ensures food safety and reduces energy consumption. Emptying the freezer is an important step in the cleaning process, as it allows for easy access to all parts of the compartment. It also helps identify any expired or freezer-burnt items that need to be discarded. A cooler with ice packs nearby will ensure that perishable items stay fresh while cleaning. Removing all shelves and drawers provides an easy way to clean the walls and floor of the freezer. With these steps complete, you'll be well on your way to a fresh, clean, and organized freezer.
Turning off the Power
Before diving into the cleaning process, it's crucial to turn off the power to your refrigerator or unplug it altogether. This simple step can prevent any electric shock or damage to the appliance during the cleaning process. If your refrigerator has a built-in ice maker, make sure to turn it off and remove any remaining ice before cleaning. Take out removable shelves, drawers, and bins for easier access and cleaning. Once everything is unplugged, you can safely proceed with removing all food items from the fridge and freezer compartments, allowing for a thorough deep clean of every surface.
Step 2 - Removing Ice Buildup
Removing ice buildup from your freezer is an essential step in maintaining the overall cleanliness and efficiency of your refrigerator. Ice accumulation can cause a range of issues, from decreased energy efficiency to increased risk of food contamination. To remove ice buildup, start by unplugging the refrigerator and removing all items from the freezer. Use a plastic scraper or spatula to gently remove visible ice buildup and towels to catch any melting ice. Using a hairdryer on low heat can help with stubborn ice patches. Afterward, wipe down the interior of the freezer with warm, soapy water and dry it thoroughly before plugging the refrigerator back in and returning items to their rightful place.
Defrosting the Freezer
Defrosting the freezer is a crucial step in maintaining an efficient and clean appliance. If you notice ice buildup, it's time to defrost your freezer to prevent inefficient cooling and potential damage to the appliance. By turning off the power, emptying all food items, and using gentle heat sources like a hairdryer or hot water, defrosting can be done safely and effectively. While it may seem like a daunting task, taking the time to defrost your freezer regularly can extend its lifespan and keep your food fresh for longer periods of time.
Removing Ice with a Plastic Scraper
Ice buildup in the freezer can be a significant problem, leading to reduced efficiency and increased energy consumption. Removing ice with a plastic scraper is a safe and effective way to combat this problem without damaging the interior of the freezer. Before starting, remember to unplug the refrigerator or turn off the freezer to avoid any unwanted electrical accidents. Next, use a plastic scraper to scrape away large chunks of ice, working your way toward smaller pieces. Please dispose of the ice in a sink or drain once you have finished scraping it away.
Step 3 - Cleaning the Interior
To ensure a clean and hygienic freezer, it is essential to focus on the interior. Neglecting this step can lead to the accumulation of dirt and bacteria, which can contaminate food items. To begin cleaning the interior, empty the contents of the refrigerator and remove any removable shelves or drawers. Use a mild cleaning solution and warm water to wipe down all surfaces, including walls, shelves, and drawers. Pay special attention to areas that are prone to spills and stains, such as door gaskets and crisper drawers. Finally, dispose of any expired or spoiled food items before returning the remaining items back into the fridge.
Mixing a Cleaning Solution
Cleaning the interior of your refrigerator is essential, but it's equally important to use a safe and effective cleaning solution. The wrong cleaning solution can damage the surface of your fridge and potentially leave a harmful residue that can contaminate food items. A simple cleaning solution can be made by mixing equal parts water and white vinegar or using a mild dish soap diluted in water. These solutions are ideal for cleaning all surfaces inside your freezer, including shelves, drawers, and walls. Be sure to rinse with clean water and dry thoroughly before replacing any food items back into the freezer.
Wiping Down the Shelves and Walls
When it comes to cleaning your freezer, don't forget about the shelves and walls. These areas can quickly become dirty and sticky, especially if spills go unnoticed. To get started, remove all food items from the fridge and take out any removable shelves or drawers. Use warm water and a mild cleaning solution to wipe down all surfaces, paying special attention to areas that are prone to spills and stains, such as door gaskets and crisper drawers. A toothbrush or soft-bristled brush can be used to clean hard-to-reach areas like corners and edges. Make sure to rinse with clean water and dry everything thoroughly before replacing shelves and drawers.
Step 4 - Cleaning Freezer Accessories
Cleaning freezer accessories is an important step in maintaining a clean and hygienic freezer. Start by emptying the freezer and removing all accessories, such as shelves and drawers. Soak the accessories in warm soapy water for easy cleaning, then use a soft cloth or sponge to wipe down the interior of the freezer, removing any ice buildup and debris. Thoroughly dry all accessories before replacing them in the freezer, and check for any cracks or damage in the accessories that might need replacing. Next, ensure that the freezer is properly closed and sealed to maintain optimal temperature, then wipe down the exterior with a damp cloth to remove any fingerprints or smudges. Finally, dispose of any expired or spoiled food items found during cleaning to ensure your food stays fresh and safe.
Cleaning Drawers and Bins
To prevent bacterial growth, it is crucial to clean the drawers and bins inside the freezer thoroughly. These accessories come in contact with food items, making them more susceptible to contamination. Take out all the contents from the drawers and bins before cleaning them. Use a mild detergent solution or vinegar water to wipe down the surfaces, scrubbing any stubborn stains with a sponge or soft brush. Rinse the drawers and bins with clean water and dry them before placing them back into the freezer. Make sure to check for any cracks or damages in the accessories and replace them if necessary.
Cleaning Ice Trays and Ice Maker
Cleaning the ice trays and ice maker in your freezer is an essential step in maintaining a hygienic environment for your food. Over time, ice can accumulate bacteria and debris, compromising both the quality and safety of your ice. By regularly cleaning these accessories, you ensure that your ice remains fresh and free of contaminants. Cleaning the ice tray is a straightforward process that involves washing it with warm soapy water to remove any buildup or debris. For cleaning the ice maker, refer to its specific manual for instructions, as they may vary depending on the model.
Step 5 - Cleaning the Exterior
Cleaning the exterior of the refrigerator is essential for maintaining a hygienic and visually appealing appliance. A dirty exterior can lead to the growth of harmful bacteria that can contaminate your food, leading to serious health concerns. Additionally, a grimy exterior can make your refrigerator look unattractive and unsanitary. By regularly cleaning the exterior with warm water and mild detergent, you can remove any buildup or grime that has accumulated over time. For tougher stains or grime, use a specialized cleaner recommended by the manufacturer to avoid damaging the surface of your refrigerator. Remember to clean any coils or vents on the back of the refrigerator to ensure optimal performance and energy efficiency.
Wiping Down the Door and Handles
Cleaning the exterior of your refrigerator is just as important as cleaning the interior. Wiping down the door and handles regularly helps prevent the spread of bacteria and keeps the fridge looking new. A mild cleaner or vinegar solution works well for this task, but be sure to avoid abrasive cleaners that can damage the surface. Use a soft cloth or sponge to clean any grooves or crevices where dirt and grime can accumulate. Regularly cleaning the exterior of your fridge will help keep it hygienic and in good condition.
Cleaning the Condenser Coils
Regular maintenance of the condenser coils is crucial for the optimal performance and energy efficiency of your freezer. Dirty coils can cause your freezer to work harder and consume more energy. Cleaning the coils at least once a year will improve their performance and increase their lifespan. To clean the coils, locate them on the back or bottom of the freezer and use a brush or vacuum cleaner to gently remove any dust or debris. Don't forget to unplug before cleaning to avoid electrical shock and damage to your appliance.
Step 6 - Reassembling the Freezer
After a thorough cleaning, it's time to put everything back together. Before reassembling the freezer:
- Make sure all parts are cleaned and dried.
- Place shelves, drawers, and any other removable parts back in their correct positions.
- Install new water filters or air purifiers as needed.
- Take this opportunity to organize your fridge and freezer for optimal storage and easy access.
- Regularly check and clean your fridge to maintain its cleanliness and efficiency.
Setting a schedule for fridge cleaning will ensure it stays clean, hygienic, and running smoothly.
Putting Back Accessories and Shelves
After thoroughly cleaning the freezer, it's time to put back all accessories and shelves. This step may seem simple, but it's critical to ensure that everything is properly aligned before closing the freezer door. Make sure all accessories and shelves are clean and dry before placing them back in their original position. If any of the accessories are removable, wash them separately before putting them back. Once everything is in its place, ensure that all drawers and compartments are properly aligned, and then close the freezer door with confidence, knowing that you have completed a thorough cleaning.
Plugging the Power Cord Back In
After cleaning and reassembling your freezer, the final step is plugging the power cord back in. This may seem straightforward, but it's crucial to ensure that all shelves, drawers, and other parts are properly placed before plugging in the power cord. Checking that the door is securely closed and sealed is also vital to prevent any air leaks. It's important to avoid overloading your newly cleaned freezer with too much food as this can affect its cooling efficiency. Regularly cleaning and maintaining your refrigerator can help prolong its lifespan and prevent food contamination.
Step 7 - Final Touches
After thoroughly cleaning and reassembling the freezer, it's important to focus on the final touches. Wipe all shelves, drawers, and surfaces with a clean damp cloth and ensure everything is dry to prevent mold or mildew formation. Reinstall any removable parts taken out for cleaning and dispose of any expired or spoiled food items. Consider placing an open box of baking soda in the fridge to absorb odors, maintain an organized refrigerator moving forward, and repeat this cleaning process every few months to keep your freezer hygienic. These tips can help prolong the lifespan of your freezer while keeping your food safe and fresh.
Checking Temperature Settings
Proper temperature settings are essential for maintaining the quality and safety of the food stored in your freezer. If the temperature is too high, bacteria can grow rapidly, leading to food contamination or spoilage. On the other hand, if the temperature is too low, food can freeze and lose its texture and flavor. Monitoring and adjusting the temperature settings according to recommended levels (between 35-38°F or 1.7-3.33°C) will ensure that your food stays fresh and safe for consumption. It's important to regularly check the temperature settings to guarantee optimal performance from your freezer and prevent any potential health risks.
Deodorizing the Interior
After cleaning your freezer's interior, deodorizing it's essential to eliminate any lingering odors. Expired or spoiled food items can cause these unpleasant smells, which may affect fresh food's taste and smell. One natural way to deodorize your freezer is by placing an open container of baking soda inside. The baking soda will absorb any unpleasant odors, leaving your freezer smelling fresh and clean.
Alternatively, you can use activated charcoal or coffee grounds as a natural deodorizer. Commercially available refrigerator deodorizers are also an option. Whatever method you choose, make sure to discard any expired or spoiled foods that may contribute to unpleasant smells in your freezer. Regular cleaning and deodorizing will help maintain a hygienic environment for your food, ensuring it stays fresh and safe for consumption.
Step 8 - Maintenance Tips for Clean Freezers
Maintaining a clean freezer is crucial for keeping your food fresh and safe for consumption. By regularly cleaning and maintaining your freezer, you can prevent ice buildup and unpleasant odors. Use a mixture of water and vinegar to clean the interior of your freezer, and consider defrosting it periodically. Keeping your freezer organized by using airtight containers and checking the temperature settings regularly can also help ensure optimal performance. By following these maintenance tips, you can extend the life of your freezer while keeping your food safe and fresh.
Regular Cleaning Schedules
Maintaining a regular cleaning schedule for your freezer is essential to ensure optimal performance and prevent food contamination. Regular cleaning helps prevent ice buildup, which can reduce energy consumption and prolong the life of your appliance. Defrosting the freezer regularly prevents the accumulation of frost, keeping the freezer running smoothly and preventing any damage to the interior walls. Wiping down the interiors regularly with a mild cleaner or vinegar solution helps keep it hygienic and odor-free. Checking on temperature settings and door seals is equally important to maintain consistent cooling performance. By following these simple maintenance steps, you can ensure that your freezer remains clean, hygienic, and operating efficiently for years to come.
Proper Food Storage Tips
Proper food storage is essential to maintaining the cleanliness and hygiene of your freezer. One of the best ways to ensure that your food stays fresh is to label and date all items before storing them in the freezer. It would be best if you also used airtight containers or freezer bags to prevent odors and spills from contaminating other items. Organizing your freezer by grouping similar items together and placing the oldest items at the front for easy access can also help you keep track of what you have stored. By regularly checking for expired or spoiled items and disposing of them properly, you can ensure that your freezer stays clean and healthy for years to come.
Conclusion
Cleaning your refrigerator is not only important for hygiene and food safety but also for energy efficiency. A dirty fridge can lead to higher energy consumption, which can increase your electricity bills. Following these eight simple steps will ensure that your refrigerator is clean and well-maintained. Regular cleaning schedules and proper food storage tips will keep your refrigerator in top condition for longer. Don't forget to share these tips with friends and family who might find them useful.


