Mold growth is a persistent issue that homeowners often face, especially in spaces like garages that are susceptible to temperature fluctuations and high humidity levels.
Thankfully, modern technology offers an effective solution: temperature and humidity sensors. These sensors empower homeowners to proactively prevent mold by maintaining optimal indoor conditions.
In this comprehensive blog, we'll provide a detailed step-by-step guide to installing temperature and humidity sensors, enabling you to take control of your environment and create a mold-free space.
Understanding the Importance of Mold Prevention
Mold growth not only damages belongings but also poses potential health risks to residents. Garages, with their limited ventilation and varying temperature and humidity levels, are particularly prone to mold development.
Traditional approaches to mold prevention often involve reactive solutions, but with the advent of technology, homeowners can adopt a proactive strategy by installing temperature and humidity sensors.
The Science Behind Temperature and Humidity
Temperature and humidity are fundamental factors influencing mold growth. Mold thrives in environments with high humidity and warm temperatures. Understanding the correlation between these factors and mold development is crucial for effective prevention.
Introducing Temperature and Humidity Sensors
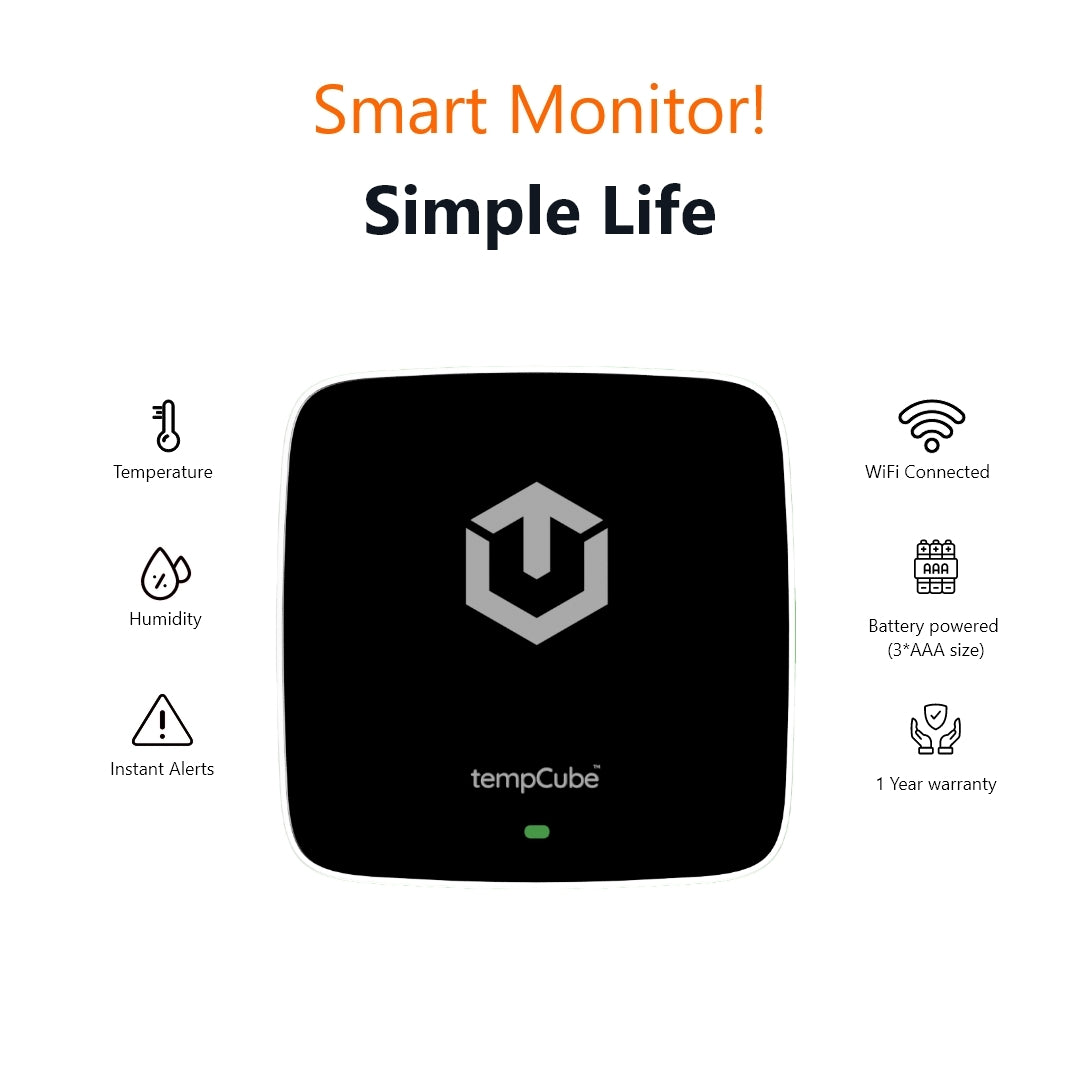
Temperature and humidity sensors are innovative tools that empower homeowners to monitor their indoor environment and prevent mold growth.
-
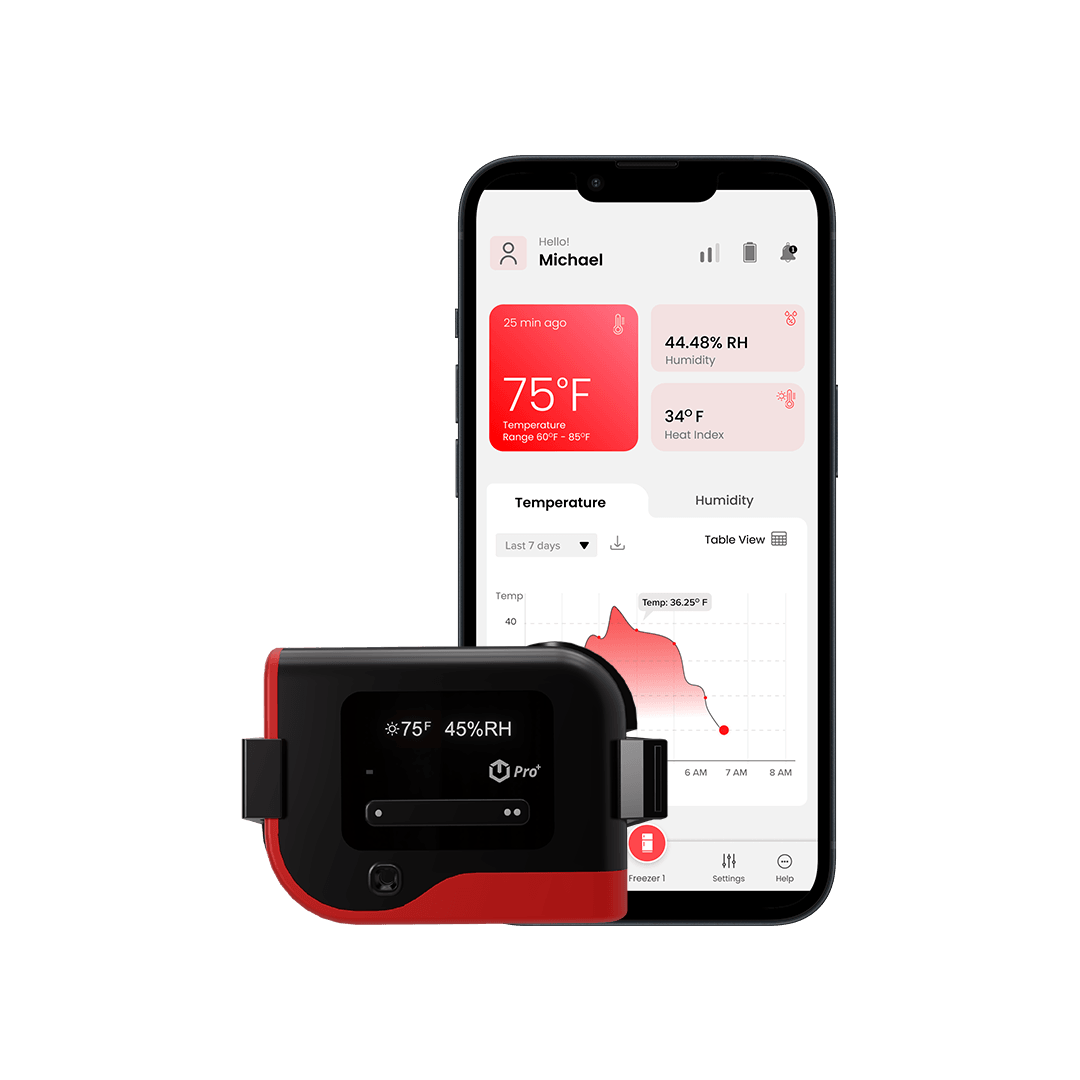
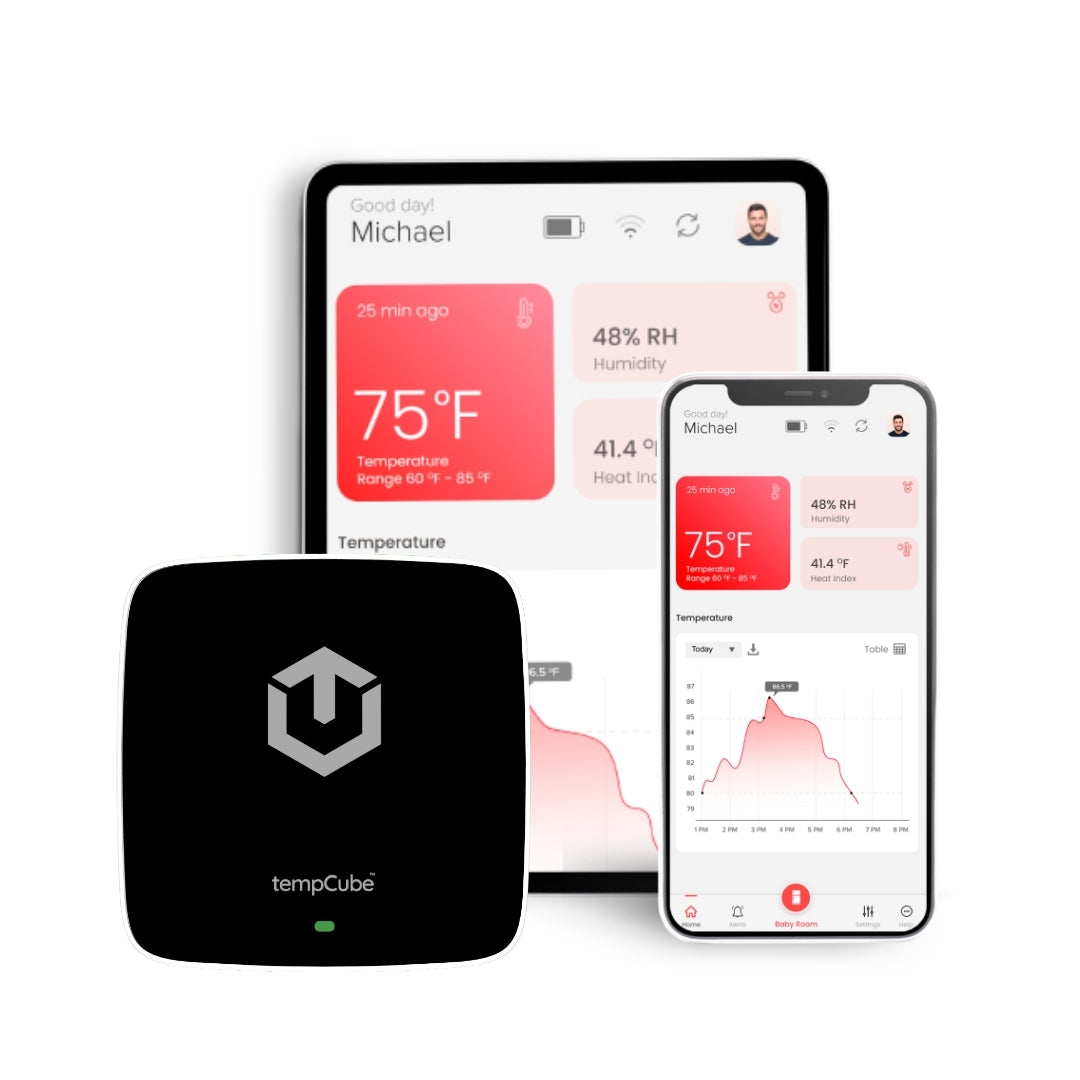
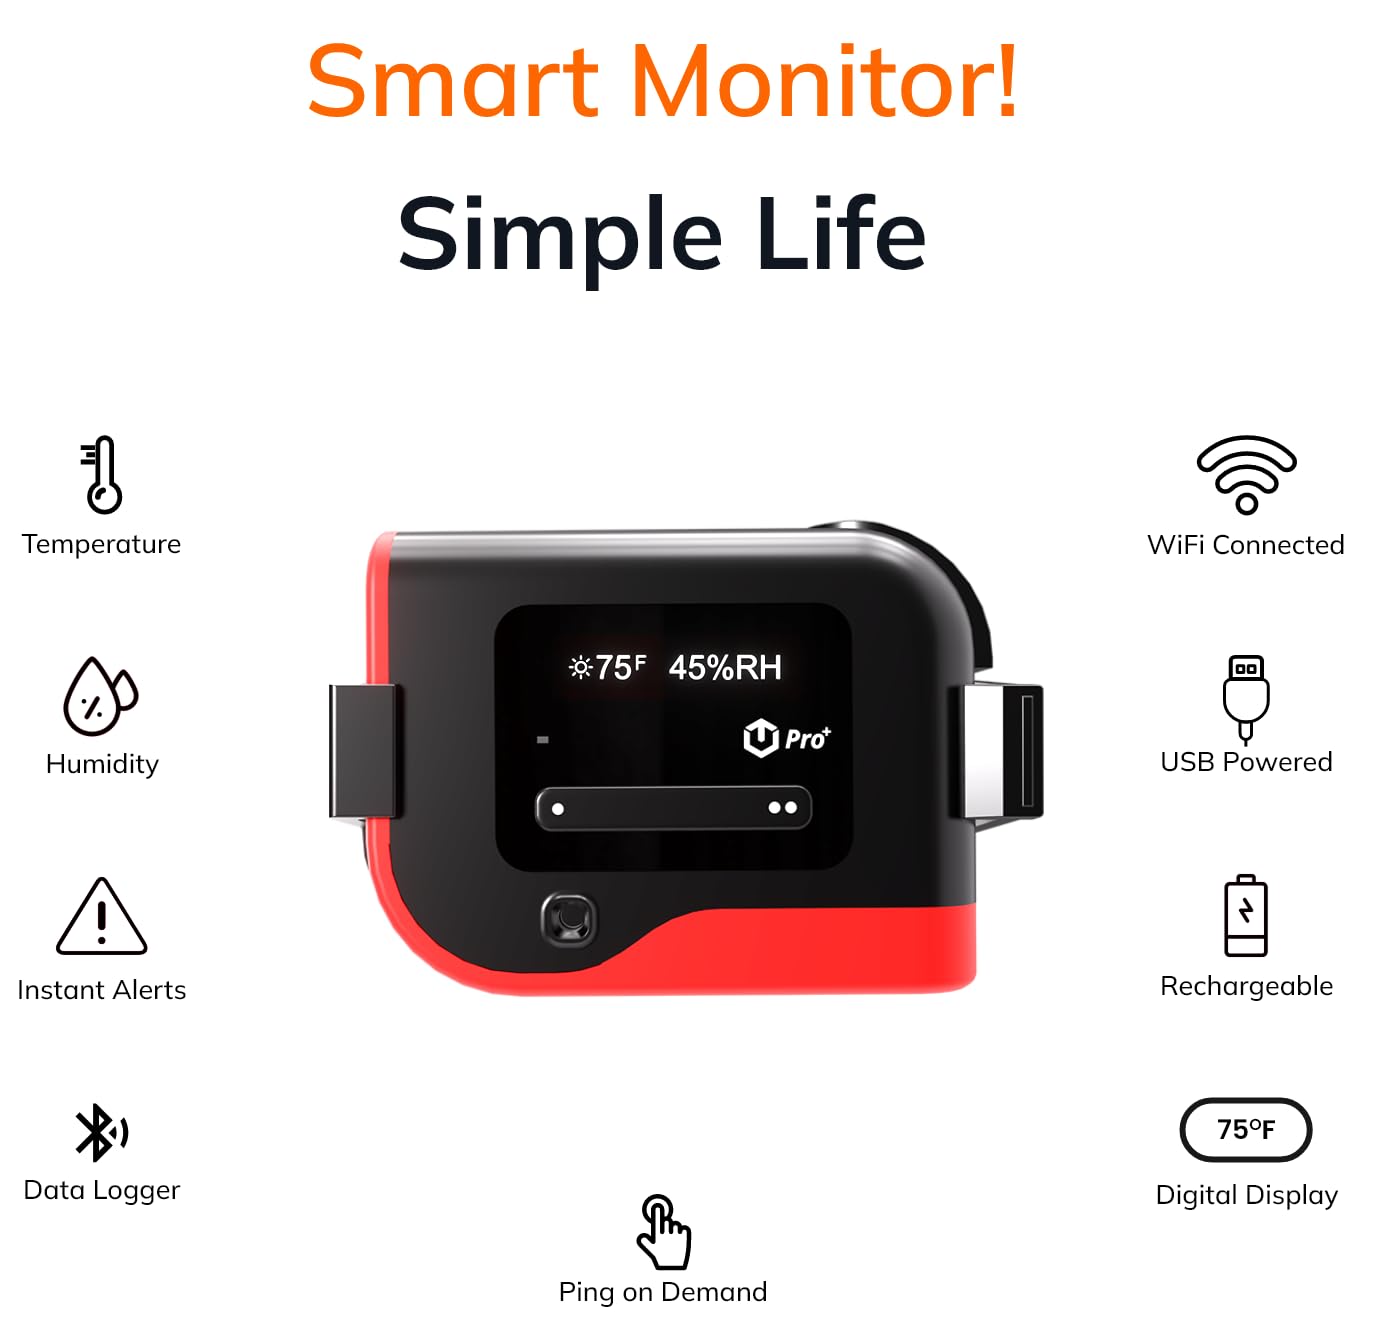
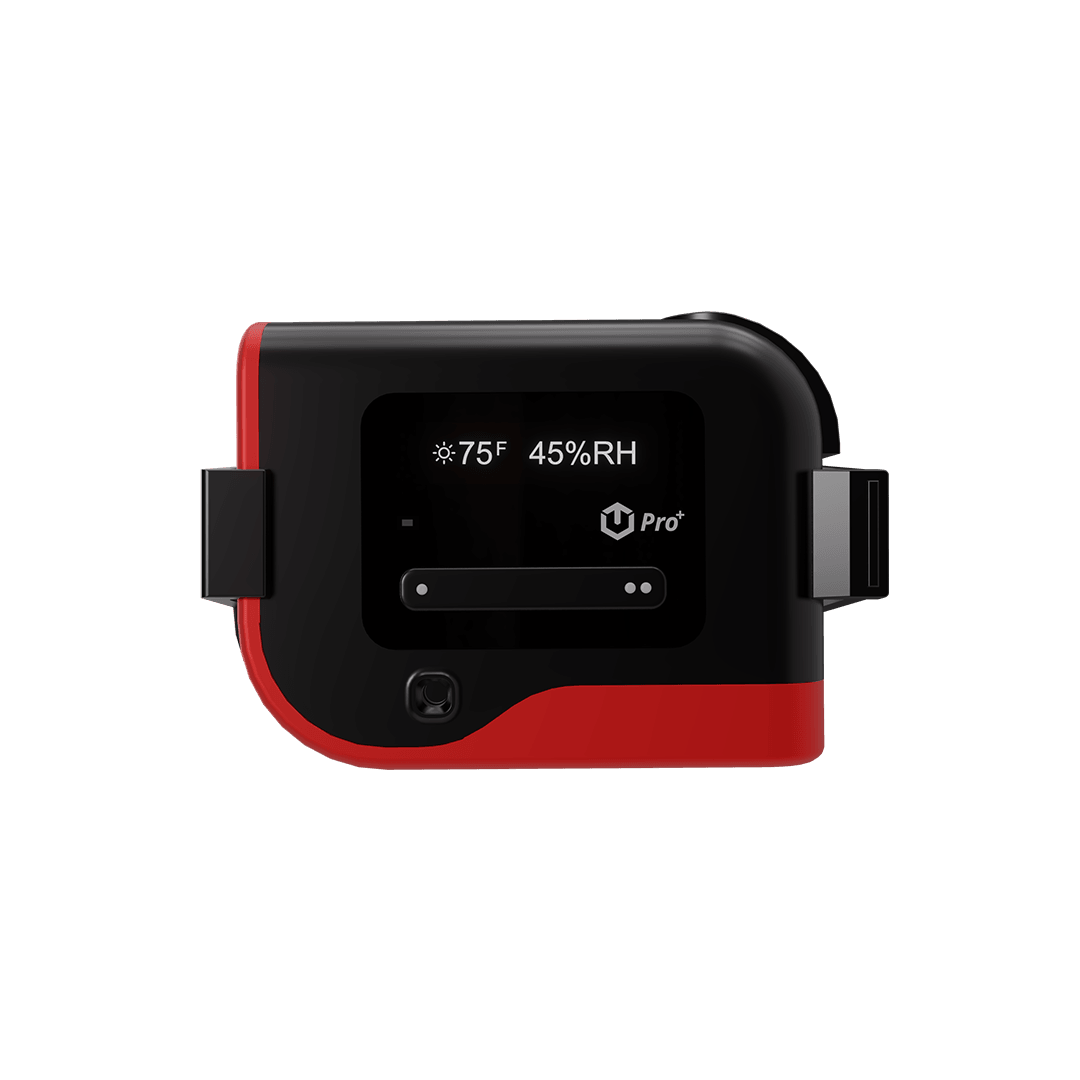
Continuous Monitoring: These sensors provide real-time data about temperature and humidity levels in your garage. This data helps you stay informed about potential mold-friendly conditions.
-
Alert System: When humidity levels rise to a certain threshold, sensors trigger alerts, notifying you of the need to take action to prevent mold growth.
-
Data-Driven Insights: Over time, temperature and humidity sensors collect data that can be analyzed to identify patterns and trends. This information is invaluable for creating effective long-term strategies for mold prevention.
-
Integration with Smart Home Systems: Many sensors can be integrated with smart home systems, allowing for remote monitoring and control. This feature enhances convenience and control over your environment.
Step-by-Step Guide to Installing Temperature and Humidity Sensors:
-
Selecting the Right Sensors:
- Research various temperature and humidity sensors available in the market.
- Choose sensors that suit your needs, budget, and compatibility with your smart home system if you have one.
-
Identify Sensor Placement:
- Determine the best locations to install the sensors in your garage.
- Place sensors in areas where you want to monitor temperature and humidity levels most accurately.
-
Gather Necessary Tools:
- Gather tools such as a drill, screws, screwdriver, and any required mounting hardware.
- Make sure you have a stable ladder if you need to reach high areas for installation.
-
Prepare the Installation Site:
- Clean the installation areas to ensure accurate readings.
- Ensure that the areas are free from obstructions that could interfere with sensor functionality.
-
Mount the Sensors:
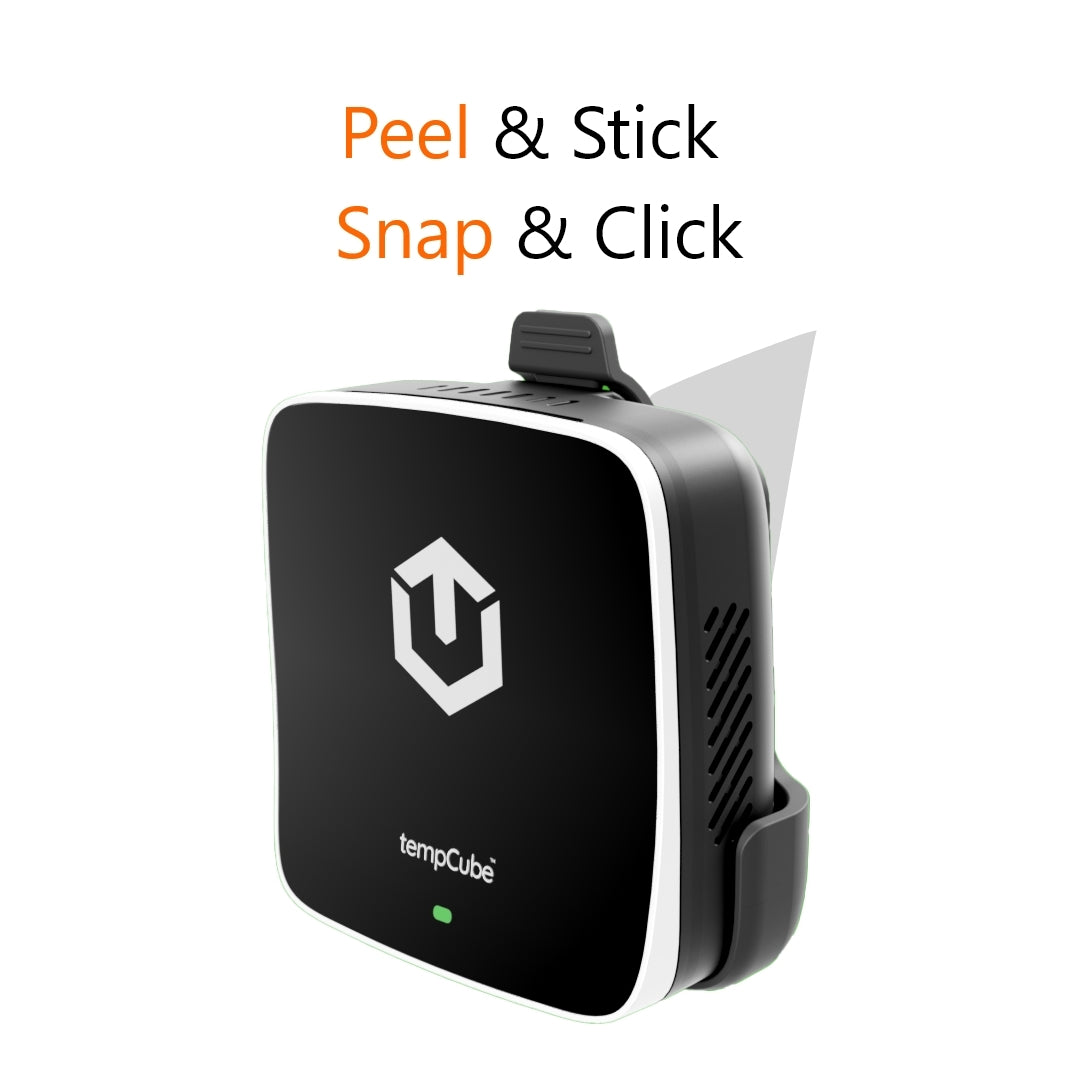
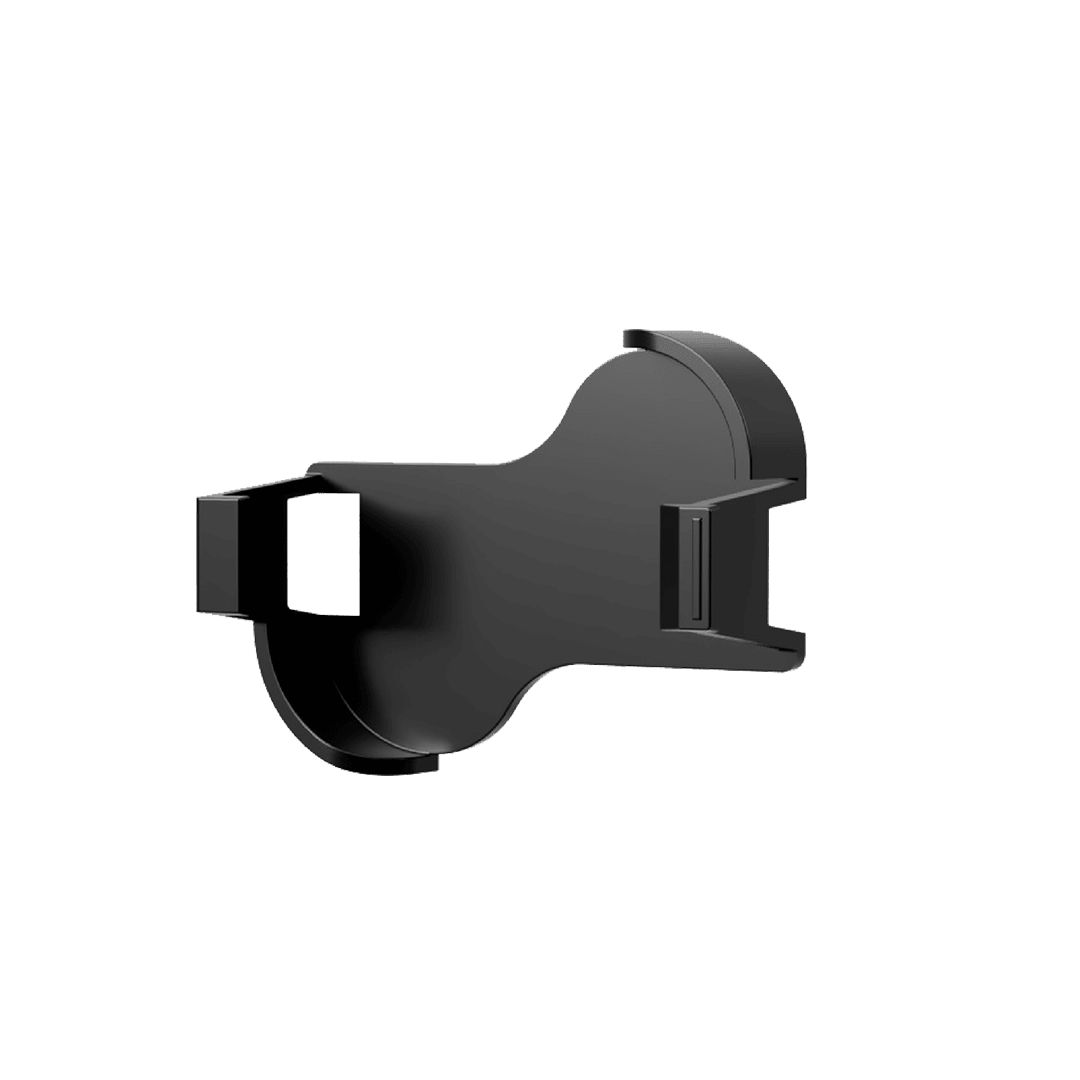
- Follow the manufacturer's instructions to mount the sensors securely to the chosen locations.
- Use the appropriate hardware and mounting method for stability.
-
Connect to Power:
- Depending on the sensor type, connect it to a power source, such as batteries or electrical outlets.
- Ensure that the sensor is properly powered to provide accurate readings.
-
Calibration and Configuration:
- Some sensors may require calibration before use. Follow the provided instructions to calibrate the sensor if necessary.
- Configure the sensor settings, such as desired humidity thresholds for alerts.
-
Integration with Smart Home System (if applicable):
- If your sensors are compatible with a smart home system, follow the instructions to integrate them.
- Set up alerts and remote monitoring options through your smart home system's interface.
-
Testing and Monitoring:
- Test the sensors by monitoring their readings and verifying that alerts are triggered as expected.
- Regularly check the sensor's functionality to ensure accurate and reliable data.
-
Data Analysis and Action:
- Analyze the data collected by the sensors over time.
- Take action to adjust conditions or address any potential mold-friendly trends based on the data insights.
Conclusion
Installing temperature and humidity sensors in your garage is a DIY project that empowers you to take control of your indoor environment and prevent mold growth. By following this step-by-step guide, you can ensure accurate sensor placement, proper installation, and effective configuration.
Temperature and humidity sensors offer real-time monitoring, alerts, and data-driven insights that contribute to a mold-free environment and healthier living space.
Embrace the power of technology to enhance your home maintenance efforts and create a more comfortable and safe garage for you and your family.


